Preparation
In the first part of this series, Growing Strawberries, I decided what containers to grow them in and what compost I'll be using.
Last night I put together the planters in my Lechuza Cascada 3-tier set.
I was going to assemble everything last night, but whilst putting the tiers together I realised these planters aren't that mobile when put together.
So instead I removed the drain plugs, and just assembled the planters with the pieces from the 3-tier set (so the planters, the base, the connection tubes and the planter-tube-base connection things).
The plan is to plant it as I go. Which plants in which planter?
The Florence cultivar is a late cropper (end of June to end of July) "with exceptional pest and disease resistance". I am going to plant those in the bottom planter.
The Flamenco cultivar is an ever-bearer (crops mid May to November). I am going to plant those in the top planter so there will be strawberries in the most easy to access tier most of the growing season.
The Cambridge Favourite cultivar is a mid-season cropper (June to July). I am going to plant those in the middle planter.
I'm hoping the disease-/pest-resistance of Florence will help protect the others if I plant them in the bottom tier. Knowing my luck the pests will be flying or jumping.
Last time I bought strawberry plants they died because I didn't plant them (they remained in their shipping box for a long time).
Sunrise was at 06:49 today, and the plants arrived yesterday. It is also supposed to be a sunny day. I am going to plant my 36 strawberry plants today.
The First Planter
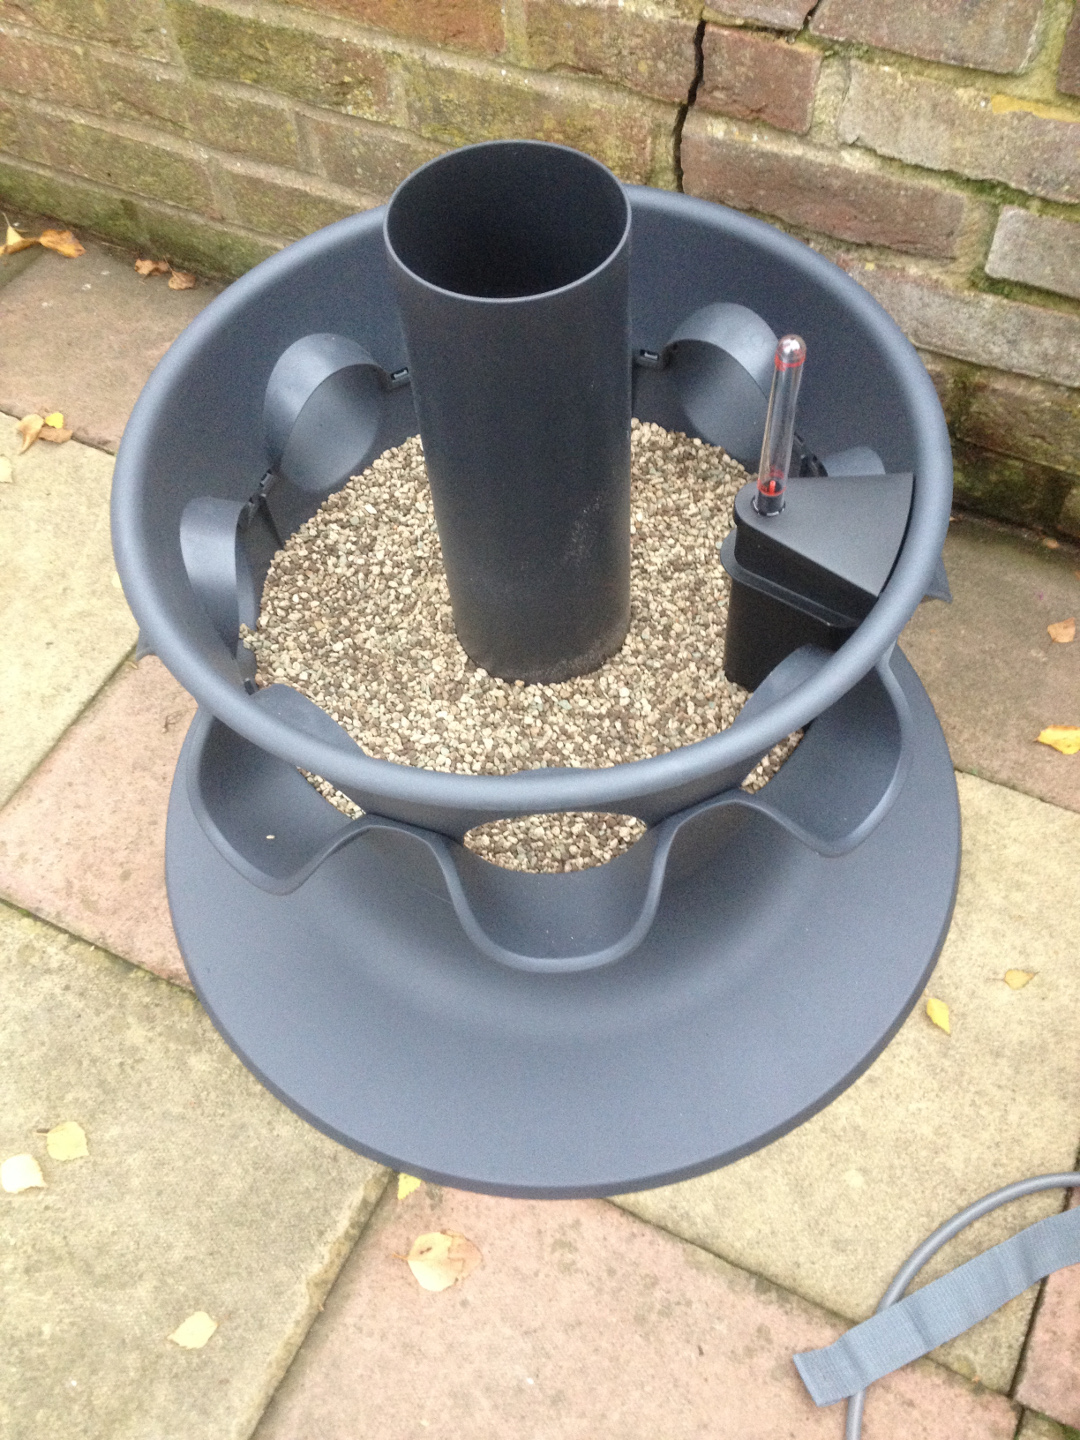
With the base already secured to the bottom planter, I just had to assemble the self-watering kit and pour the Lechuza PON into the container.
I eventually worked out how it all fit together.
First I had to assemble the self-watering kit, then I had to insert the connecting tube, and then I poured in the PON.
If the connecting tube is inserted first it is too difficult to assemble the self-watering kit, so I removed the tube and that made it easier.
Soaking the Roots

While I was assembling the base container, I grabbed the first bundle of plants and a casserole dish.
I filled the dish with tap water, separated the plants, and gently placed them in the dish to soak (rehydrate) the roots.
Assembling the planter (and putting a bit of soil in the bottom of the base and the 8 holes) took me long enough that the roots were sufficiently moist by the time I'd finished.
Fill, Plant Up, Water
The planting holes make these planters a tad difficult to plant in.
By the third planter I had it worked out, so I'll try my best to describe how I did it.
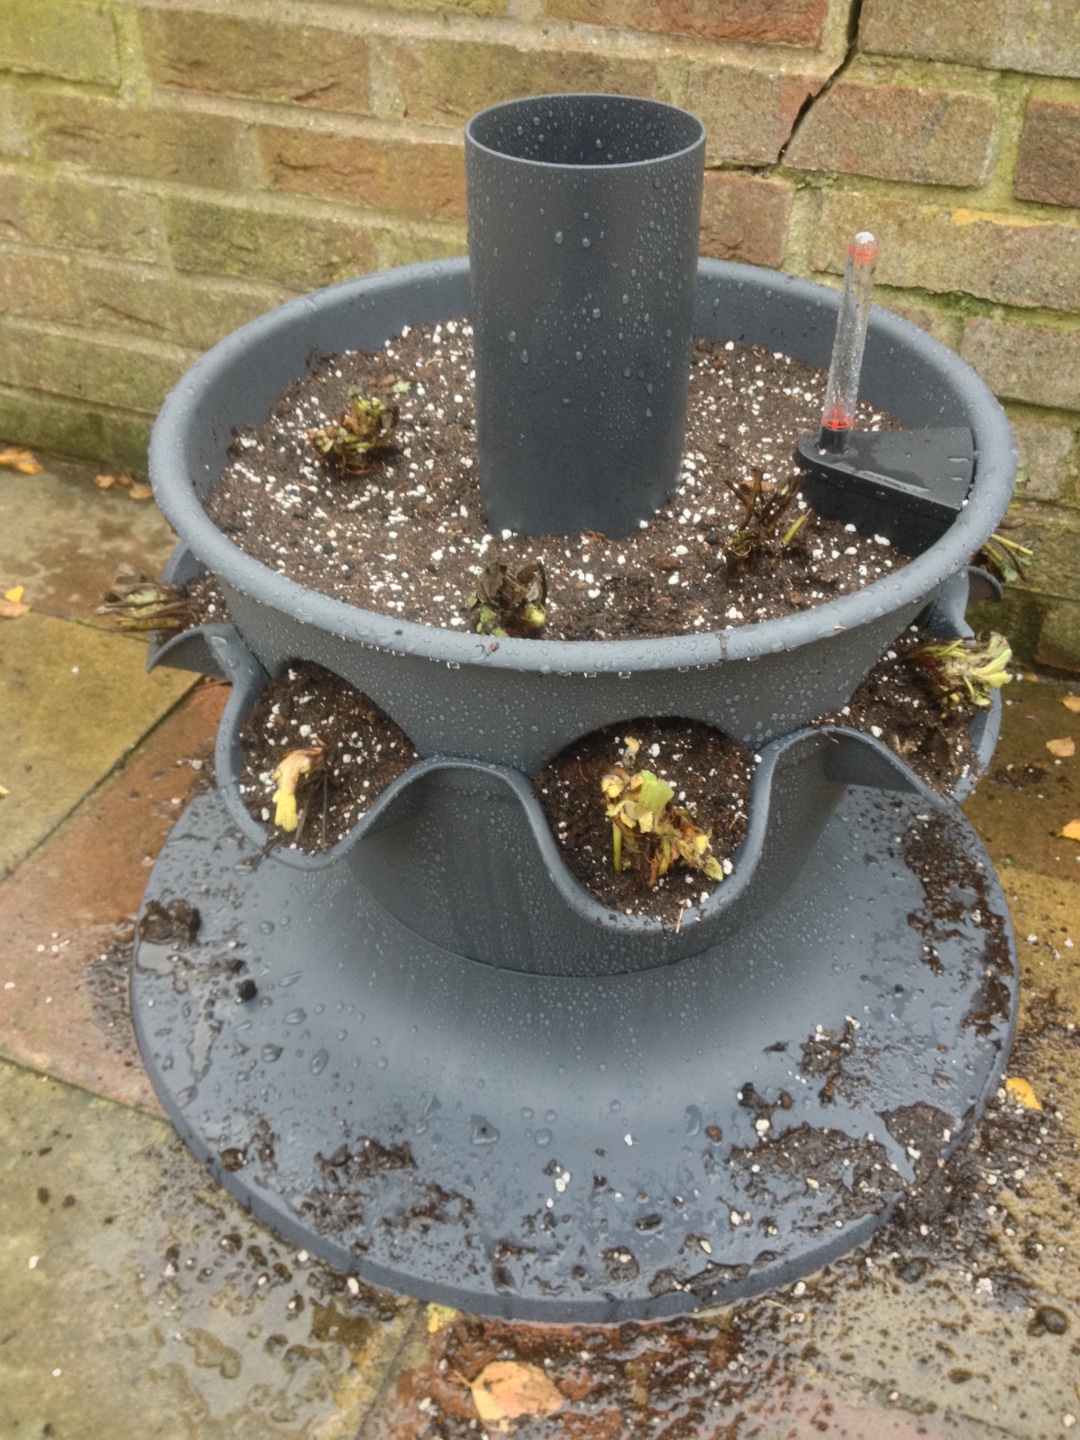
First, I dumped a bowl of compost into the planter. I then moved that compost so it half-filled each hole, at a downwards angle from the outside of the planter so the roots won't be going in horizontally.
I then took two root balls, and placed them through the holes so the crowns were sitting on the compost in the hole (therefore approximately in the centre of the hole) and started filling the hole from the inside.
If the hole was to the left of my body, I'd grab some compost in my right hand, and push the soil "through" the hole—my left hand was on the outside of the hole and was firming the compost first around the sides of the root ball and then above the root ball. If the hole was to my right I'd do the same thing but with my left hand pushing the soil and my right hand firming it around the root ball.
I'd do the same with the second root ball, and then repeat the same process filling up all 8 holes.
Once done I'd then take one of the remaining plants and put it in a gap on the top, slowly covering it with compost up to the crown (and making sure the crown was slightly above the level of the top of the holes.
I'd then repeat the process until all 12 plants were planted, using some more compost to fill in any remaining gaps.
I finally gave them a good watering.
Two More Tiers
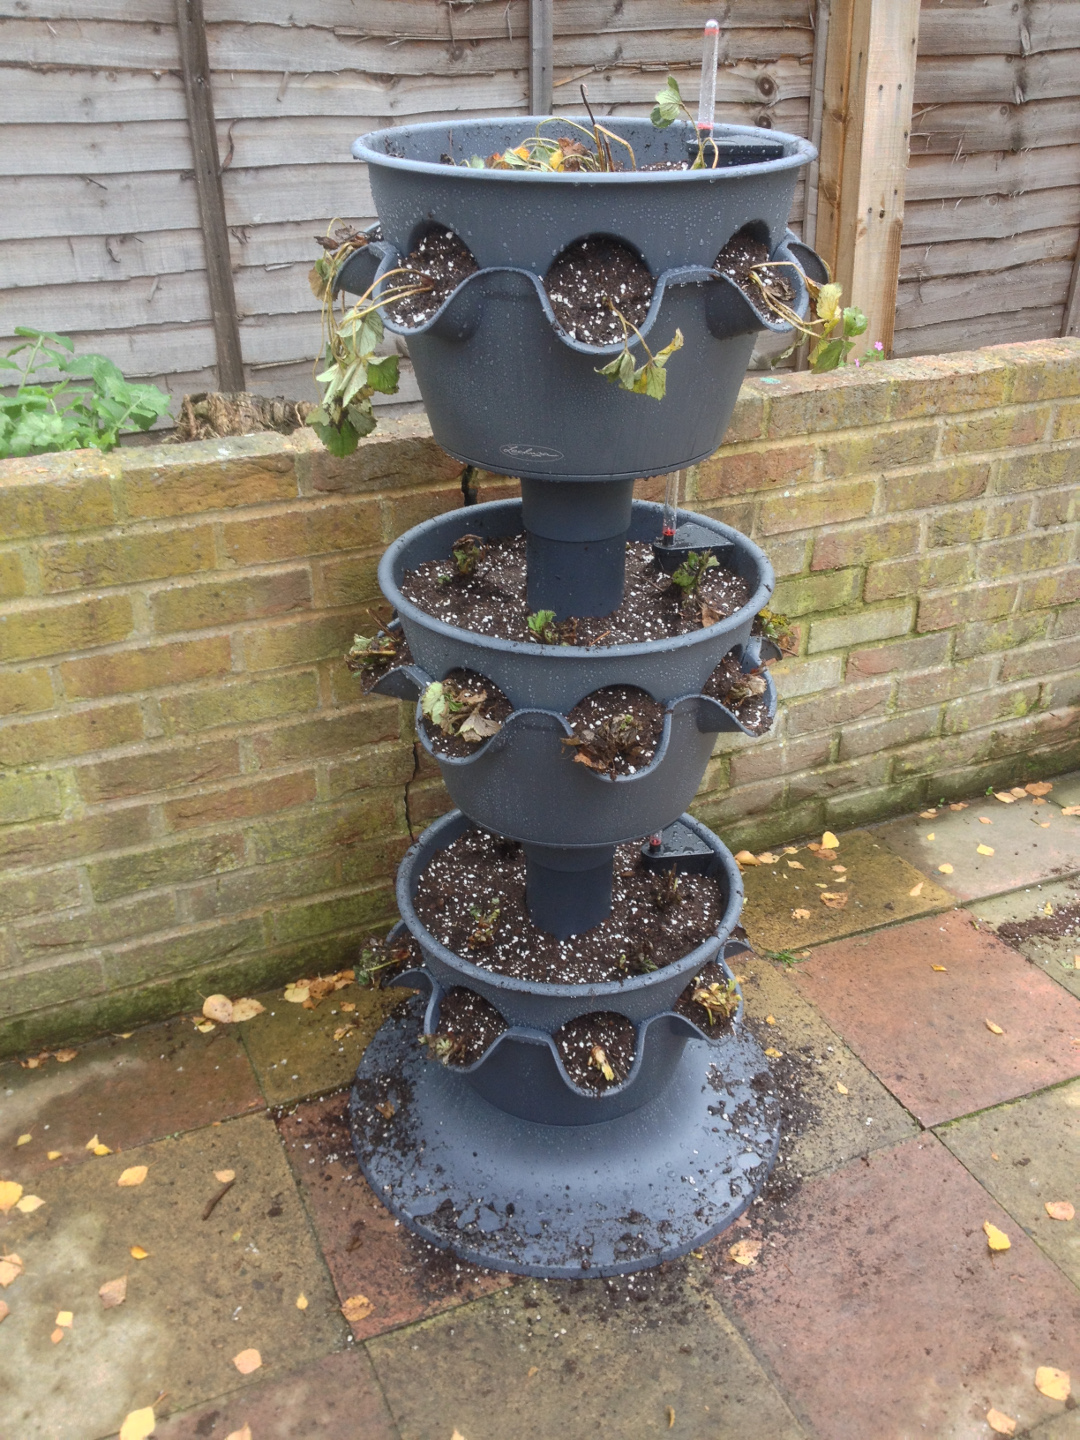
I then repeated the same process for the middle and top tiers.
It took a fair bit of work, but eventually I had 36 (37?) strawberry plants all planted up and hopefully ready to produce strawberries next year.
I went through a full 7 litre pressure garden sprayer while planting up the strawberries.
An hour later I went through another 14 litres gently spraying the compost and cleaning the compost from the base of the planters.
It is too early to tell how many plants will survive, and I need to water them regularly for 12 weeks (until 2016-01-22) at which point they should have settled in and I can start filling up the self-watering reservoir.